.png)
The Ultimate Guide to Hiking Ha Ling in Winter (with kids)!
- Apr 17, 2025
- 11 min read
Updated: Jul 29, 2025

Ha Ling is one of the most iconic peaks in the Canadian Rockies and easily one of the most well-known hikes near Canmore. It’s a steep but manageable trail that most adults with a decent level of fitness can take on - and if you’re looking for a first summit to climb with kids, this is the one we’d recommend.
The route is generally safe, well-travelled, and easy to follow, which makes it a great option for strong kids who are just starting to get into hiking, scrambling or climbing mountains.
I used to assume that once the mountains were covered in snow, you had to wait until summer to climb them. And while that's true for many peaks in the Rockies, Ha Ling is one that you can climb in the winter.
During the colder months, the trail is much quieter since, for the most part, you don't get the casual flip flop wearing hiker deciding to climb it on a whim!
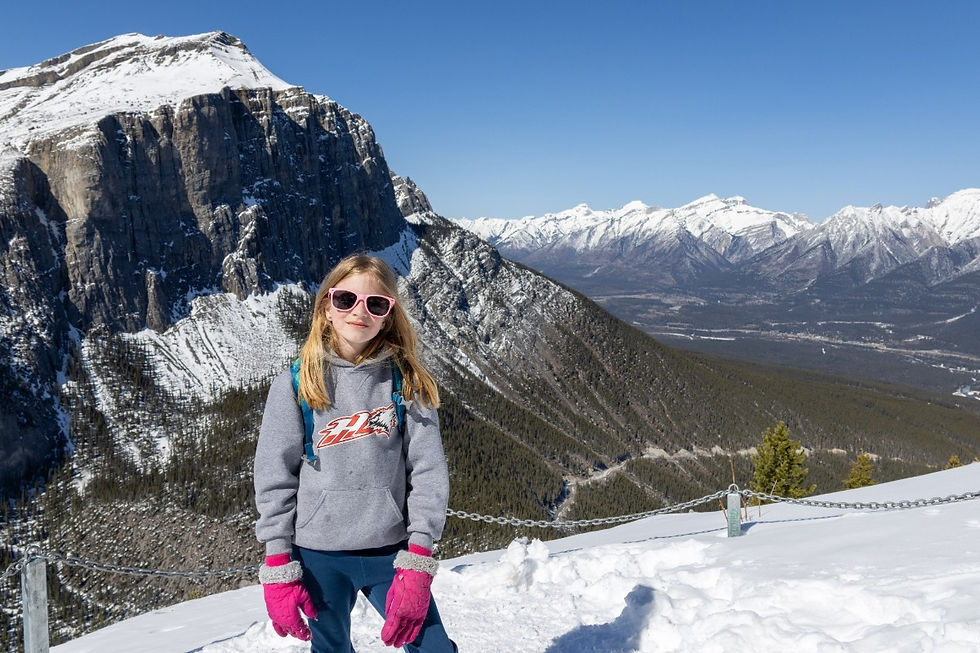
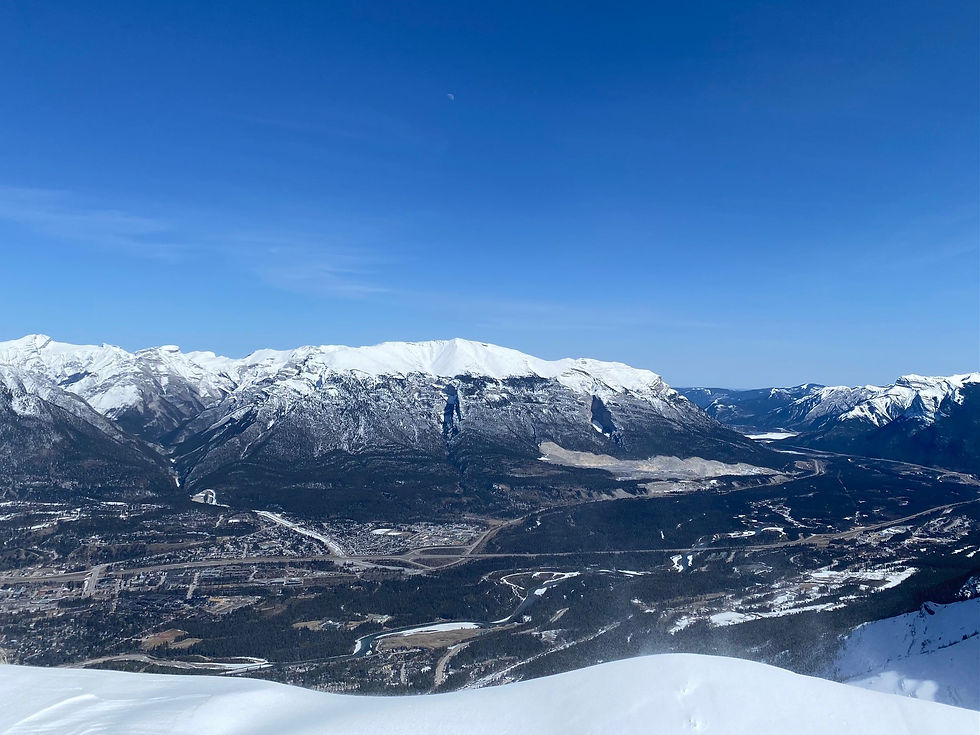
There’s something pretty special about standing at the summit of Ha Ling in winter - surrounded by snow-covered peaks, epic views of Canmore below, and a crisp mountain breeze in your face!
It’s an achievable objective if you come equipped with the proper gear and lots of determination.
Keep reading for a full guide to hiking Ha Ling in the winter with kids, including how difficult the hike is, the different viewpoints, essential trail details, and what to expect at the summit.
Disclosure: This post contains affiliate links, which means we may earn a small commission if you book through them, at no extra cost to you. We only recommend hotels we genuinely love and use ourselves.
Table of Contents
To jump ahead to a certain section, click the links below:
Table of Contents:
Hiking Ha Ling Trail in the Winter
Key Information
Short on time? Here’s a quick look at what you need to know before heading out.
Distance: 7 to 8 km round trip (3.5 km to saddle, 3.9 km to summit)
Elevation Gain: About 750 m
Difficulty: Physically tough but not technically difficult; steep sections with staircases; icy and slick near summit in winter
Time: 3 to 4 hours round trip (depends on conditions and pace)
Best Time to Go: Year-round; winter requires caution and ice cleats; check trail reports
Permits: Kananaskis Conservation Pass required. We have a Q&A about it here
Kids: Suitable for active kids with experience; younger kids may struggle in winter; turning around at EEOR viewpoint (~2.3 km) is an option
Dogs: Allowed on leash; steep and rocky terrain may limit dog endurance
Exposure: Minimal exposure if you keep a safe distance from edges near summit
Scrambling: Minor scrambling in summer; none required in winter
How to Get There and Where to Park
The trailhead is easy to find - just head south from Canmore on the Smith-Dorrien/Spray Lakes Road (Highway 742). The road in the winter can be a little sketchy, so take your time. In the spring there can be some pretty large puddles from snow melt.
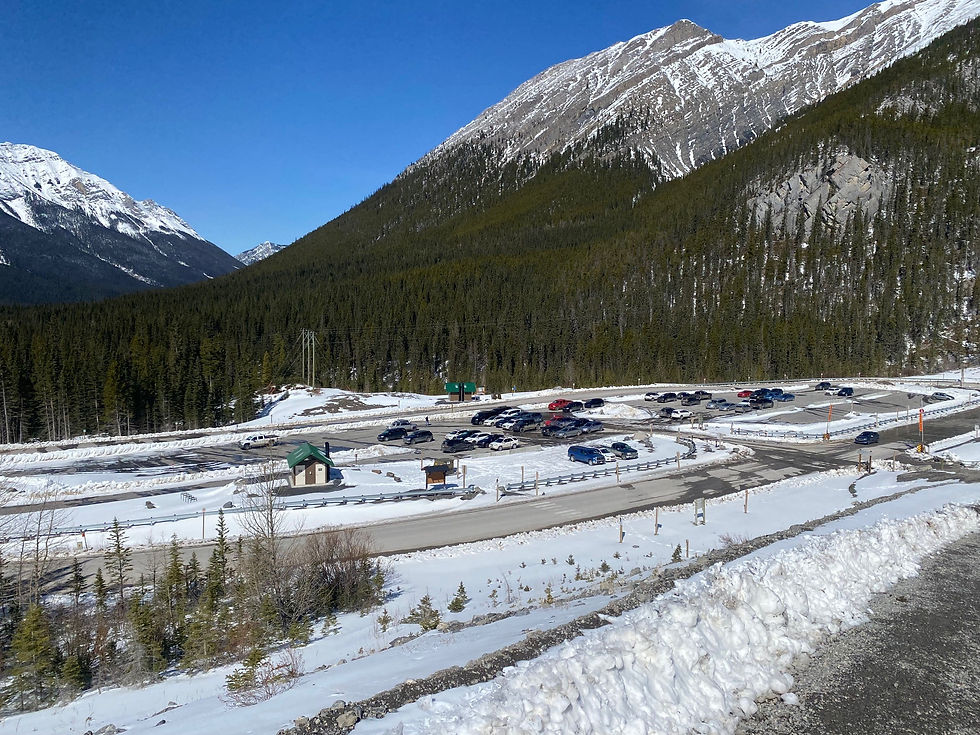
It’s about a 10-minute drive from town, and the parking lot is just down the hill after you pass the Whiteman’s Pond and is called 'Goat Creek Parking Lot' on Google Maps.

The parking lot is a fairly good size and there are toilets on site. There are usually spots available in the winter, but in summer it can (and does) fill up, so I always recommend getting there earlier or later in the day to avoid the peak crowds.
The trail begins just behind the gate across the road that you just drove along, where you'll need to climb a short service road to a bridge before entering the forest.

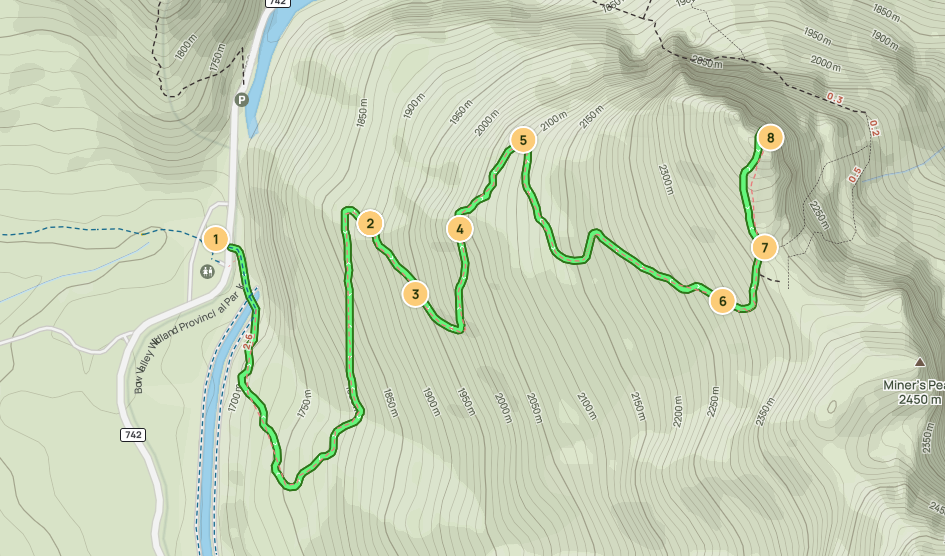
Ha ling Peak Trail Map:


The Initial Climb
The hike begins with a series of gentle switchbacks through a pretty, if not spectacular forested area, which continues for about half of the journey. It is steep, and kids may find it difficult, so pace yourself and take regular breaks to catch your breath and have a drink.
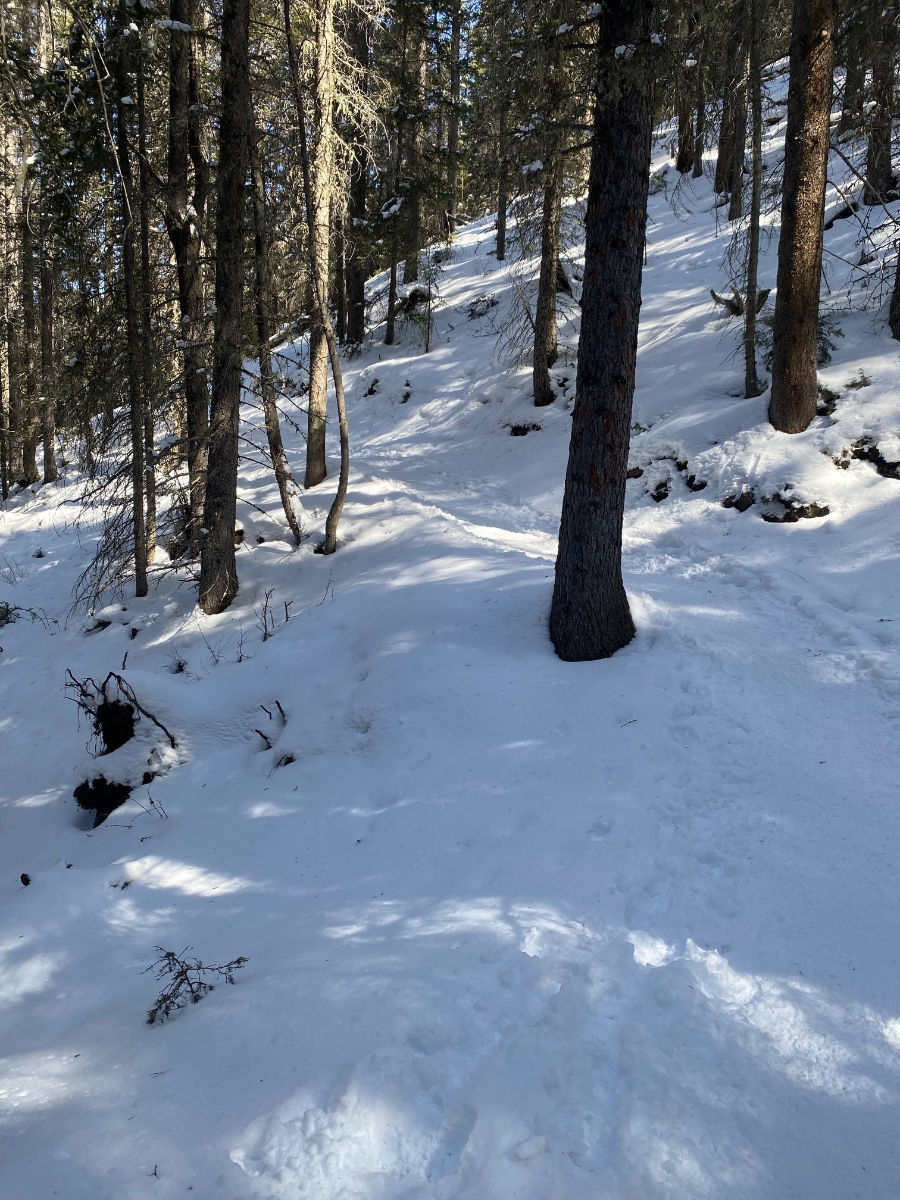
In winter, the path is usually well packed down, so you're unlikely to wander off the trail. However, if you're the first to hike after a snowfall, download a copy of the map on AllTrails before setting off.
We were lucky - it had snowed a few days prior, so the conditions were really good - but you will definitely need ice cleats or some form of traction, as the trail does get icy.
The higher you climb, the more the mountains start to come into view through the trees. You'll start getting views of the Spray Valley and there are quite a few rocks along the side of the trail to sit on where you can stop for a breather. Trust me though, the views get a lot better the higher you climb.


About halfway up, you’ll reach the first viewpoint, along with the first of the newly installed sections of fencing to help you climb the steeper sections of the trail. If you forgot to bring them, this is the point where you are going to regret not wearing ice cleats.

To reach the second viewpoint, you continue winding through the trees, with the mountains coming in and out of view as you go. You walk past a rocky cliff section which is really quite steep and this was Jessica's hardest part of the climb.
We used a TowWhee to help Jess up this part (read more about this here). I did wonder at this point whether we'd be able to make it. My advice though is to Keep pushing on to the EEOR viewpoint at a minimum.


The EEOR View Point
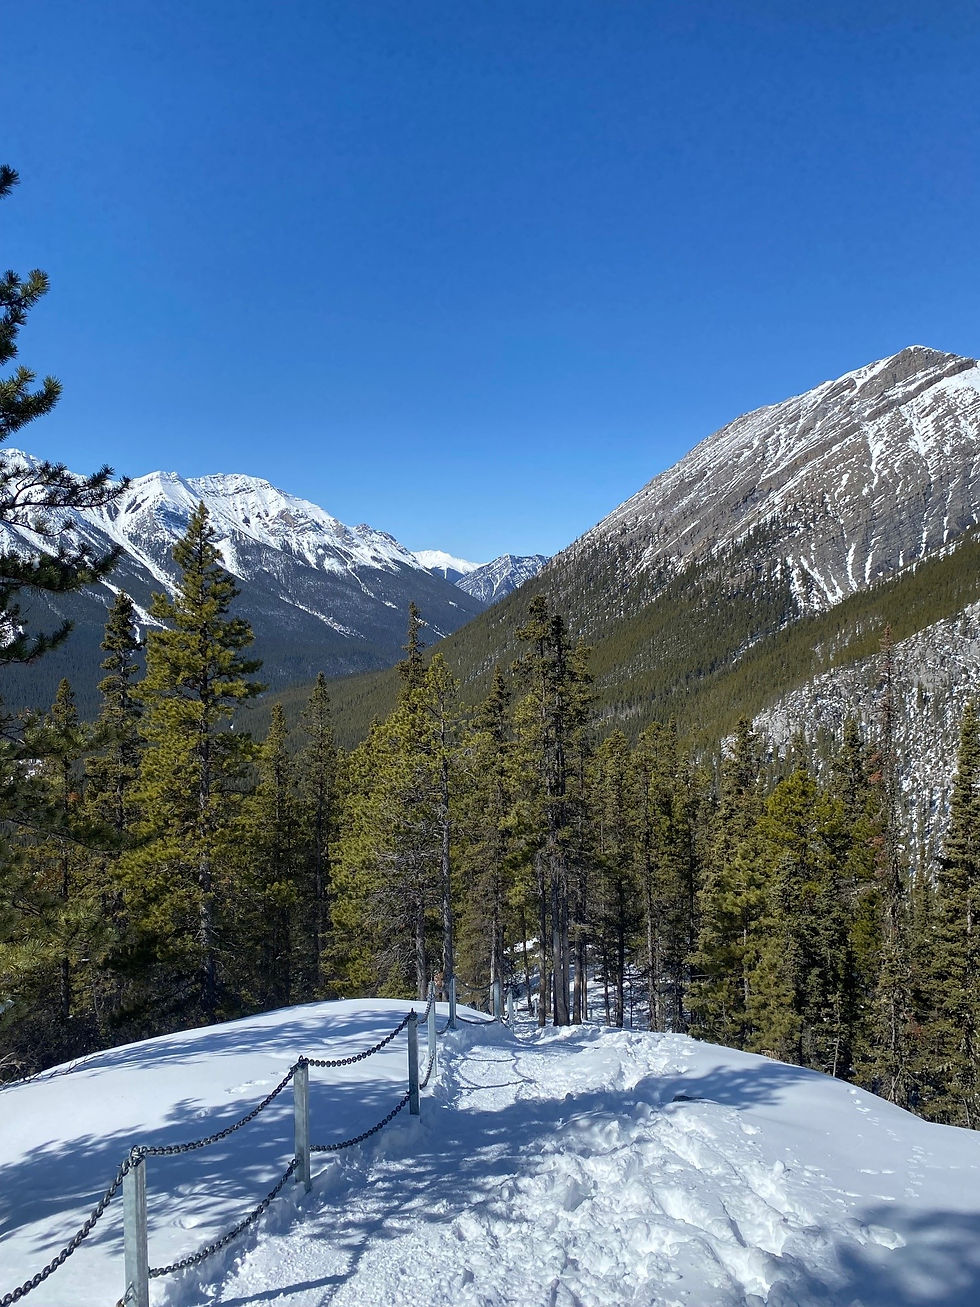
At around the 2.3 km mark, you'll reach the second viewpoint, accessed by a short spur trail - another recent upgrade from Parks Canada. They've added benches so you can take in the view, along with a chain fence at the edge for safety. That said, it's still a steep drop-off, so keep smaller kids close.
This viewpoint offers stunning views of EEOR (East End of Rundle), another popular hike and scramble in the area. You'll also get a great look at Canmore and the valley beyond. We stopped to chat with a couple enjoying a celebratory beer - now we're talking!
If you are hiking with kids and they are struggling, this is a good point to turn back. While it doesn't get much harder until the very last push to the summit, there is still quite a bit to go.

From the second viewpoint, the path continues upwards through the trees until the trail starts to thin out a bit. This is where the views start to become seriously impressive!

As you emerge from the trees, this is the area where you need to be careful, as the trail does cross an avalanche zone. Be sure to check the trail report here before you start hiking the trail.
There are signs warning hikers not to stop along this section of the trail, and if you are unsure, always err on the side of caution.

As you cross the avalanche risk zone, the snow can get deeper. When we visited the snow was well trodden down, but when the snow is deep, snow shoes can be helpful. Continue along this path until you reach the first of the newly installed staircases.
The Staircase up to the Saddle
Finally, you will arrive at the first of three sets of newly (ish) installed staircases! These improvements to the trail were made back in 2019, and were added to help hikers navigate steep sections, as well as to prevent worn parts of the trail from deteriorating.
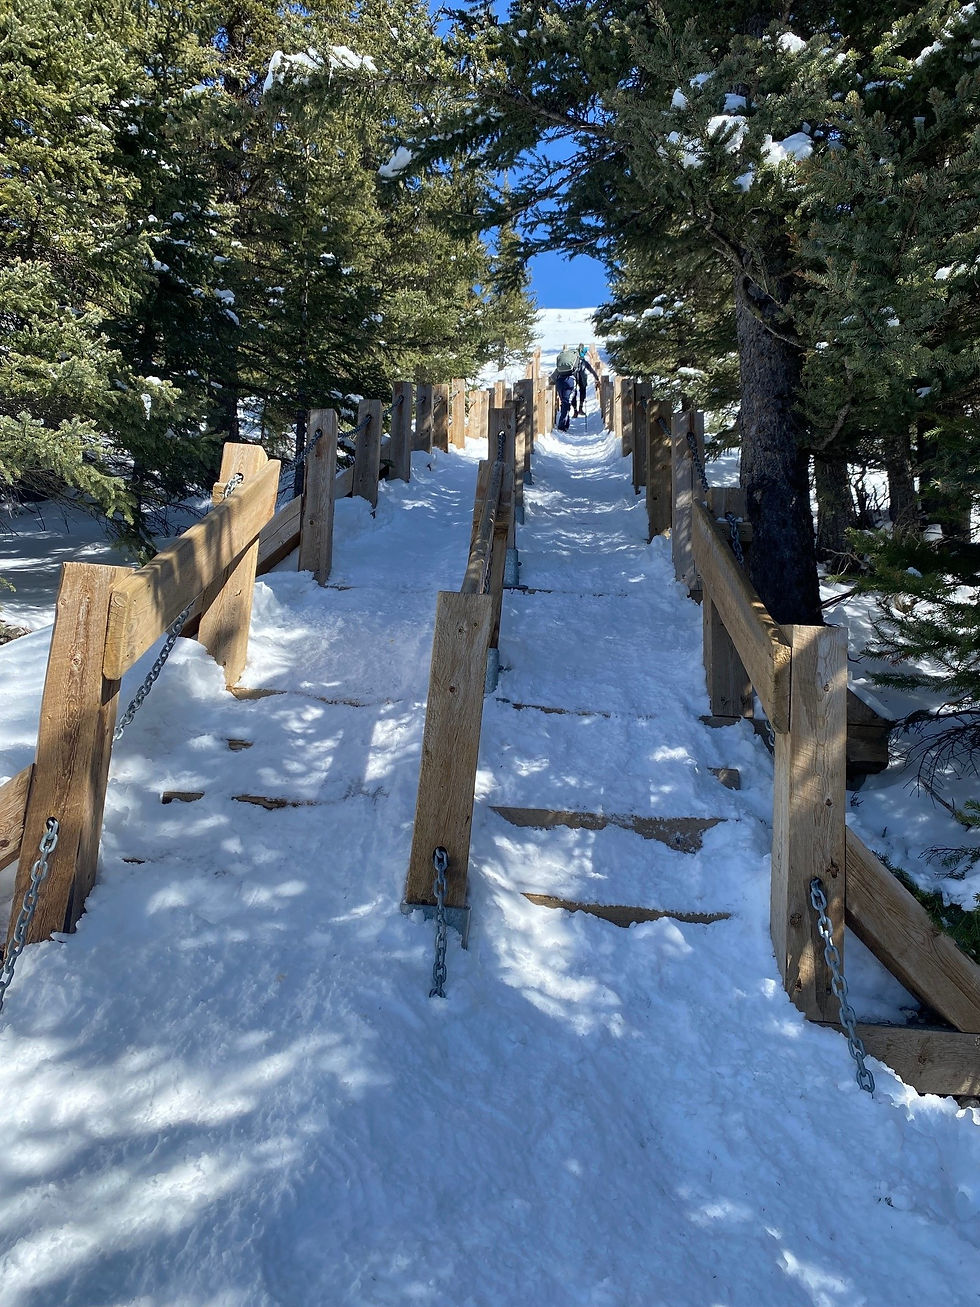
In the winter the steps do get icy, and they almost turned into a big snow slide! We found it helpful to hold onto the chains and pull yourself up, and I hate to sound like a broken record but ice cleats, ice cleats, ice cleats!


We stopped at the bottom of the last set of stairs as it has a wonderful view over the Dorrien Valley. If you want to get some photos, it's a good place to do it, as at the top of the 3rd set of stairs the wind increased dramatically, to the point that I didn't really want to get my expensive camera out. If you shedded layers on the way up, you probably want to put them back on now.....


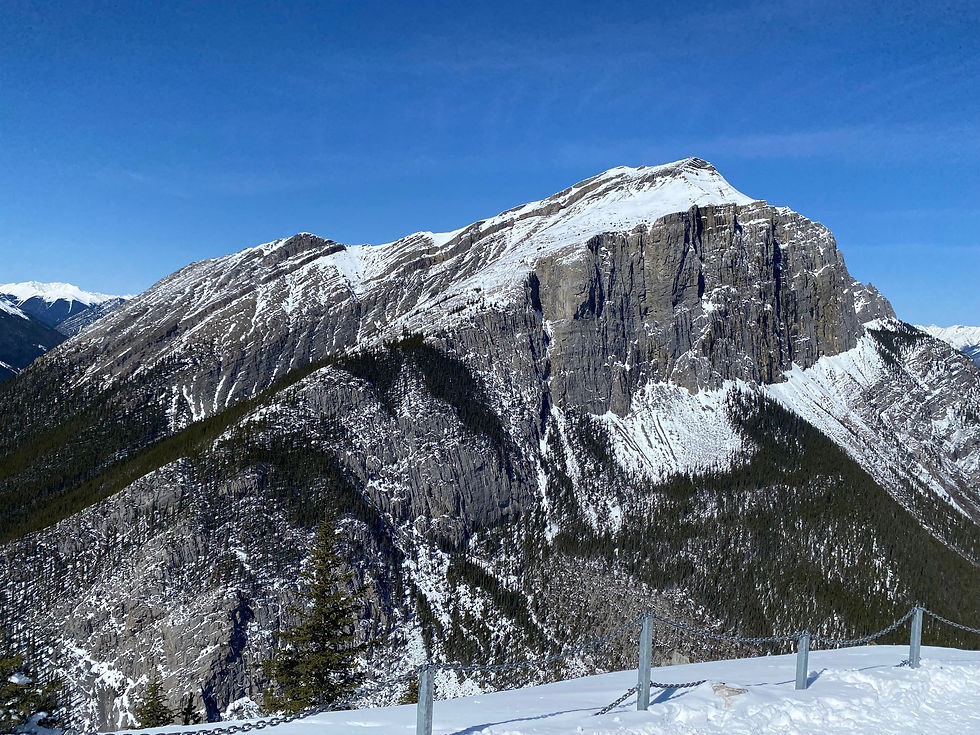
Once you've navigated the three sets of stairs, you've done most of the hard work! You will see the peak of Ha Ling in the distance to your left, the saddle straight in front of you, and Miners Peak to your right.
The trail up to the saddle is moderately steep, but this is where the wind picked up and we stated to feel the cold. To put this into perspective, there wasn't a cloud in the sky and we were sat in a patio in a t-shirt in Canmore later on!
As you get to the saddle, you will see a trail heading off to your right - this is to Miners Peak (see below).

Depending on how everyone is feeling, the Saddle is another point where you can choose to turn back. The views from the Saddle are pretty much the same as from the summit, plus you don't need to risk the icy conditions if the weather has turned. But, by the same token, you are so close to the top.....!
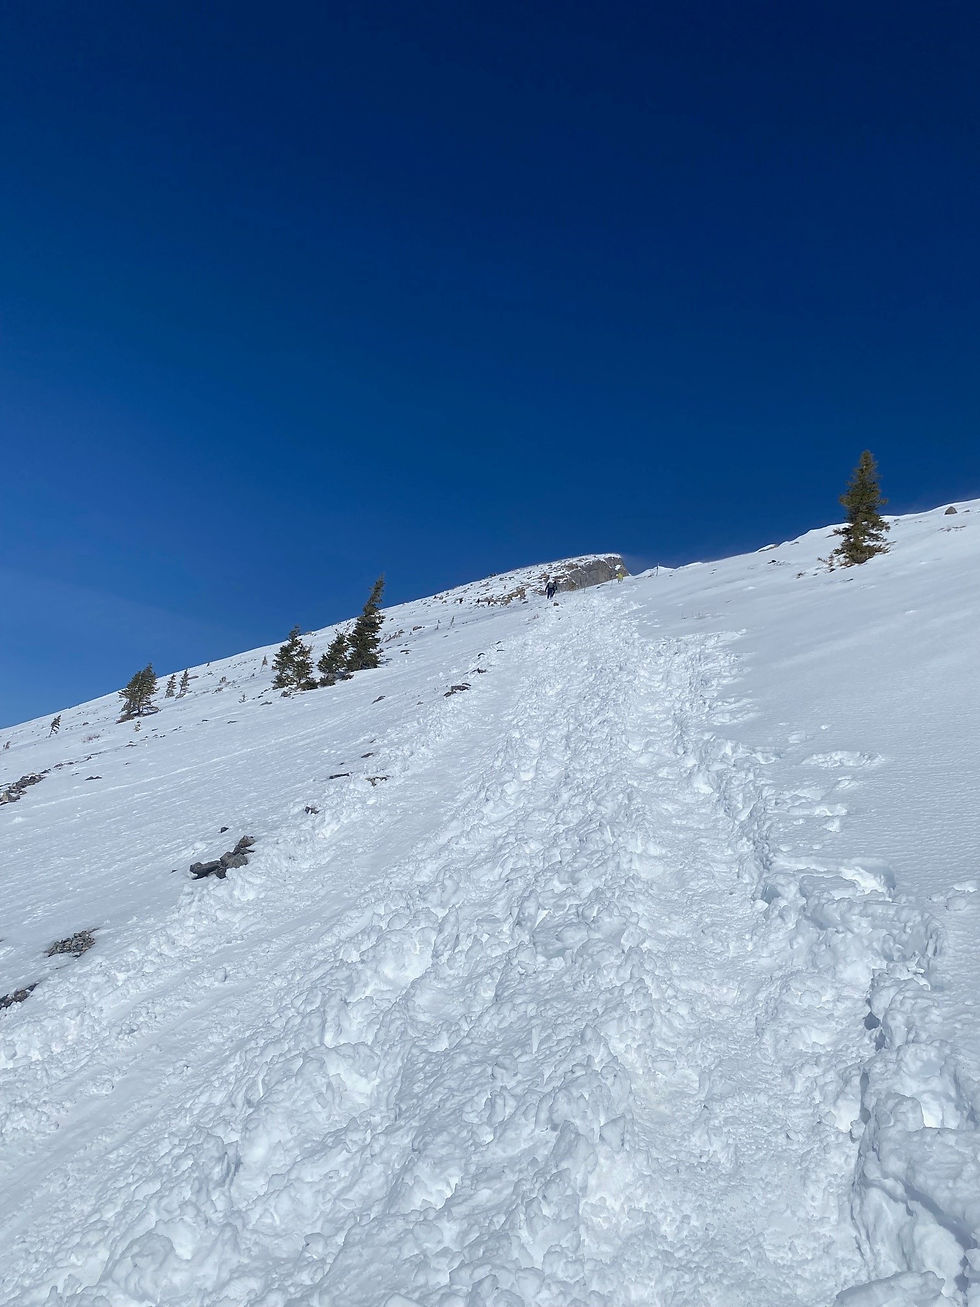
The Push to the Summit
The final push to the summit is the hardest part of the hike. In the winter, the exposed (weather) conditions make the final scramble to the summit icy and a little slippery.
This is the point where you need to make sure you keep your kids close by, as although a slip likely wouldn't mean falling off the edge of Ha Ling, they could get injured sliding down the steep incline. Make a judgement call based on your kids level, enthusiasm and the weather conditions.
But if you are confident that you can do it, you'll be rewarded with some of the best winter views anywhere in Canmore. You’ll be standing at 2,407 metres above sea level with panoramic views in every direction - it’s the perfect reward for your hard work!

If you're looking for an extra challenge, you can always add summiting Miner's Peak to your day. In the summer, it's a slightly easier and quieter alternative to climbing the Ha Ling summit, with less people.
You get similar views over Canmore but you also get great views of Ha Ling, as you really don't otherwise! In the winter though it is a much less travelled path, so I prefer to stick to Ha Ling trail.
Once you are done at the summit, make your way back down the way you came. It was a lot slicker underfoot on the way back down, so hiking poles would definitely be useful. You'll be amazed at how fast you make it back to the car going down, compared to on the way up!

After all your hard work, I highly recommend the short drive back to Canmore for a celebratory beer at Grizzly Paw Brewing! (they even sell kids soda flights)!

What to Take With You
Good Hiking boots – This is definitely not a flip flop type of hike! Make sure the whole family invests in some good hiking boot, with proper ankle support. When hiking in the winter some form of traction device is a must.
Ice Cleats - we recently bought the girls these Kids Ice Cleats by High Stream Gear from Amazon. They've worn them on loads of hikes now and we are really happy with them. Me and Susie both have the Kahtoola MICROspikes and love them.
Phone – it’s always worth carrying one for emergencies, plus you’ll probably want to take a photo or two….. As it is so close to Canmore, you do tend to get a phone signal for most of the hike.
AllTrails App - We always download the map of the trail we are doing on Alltrails. It's well worth the money.
Food and Water – Bring lots of water! We recently bought both of our kids Camelbaks so that they can drink on the go and it has been a game changer! Bring plenty of snacks and gummy treats!
Dress in Layers - Weather can change quickly in the mountains. Dressing in layers is the best advice - we usually wear a merino wool base layer, insulated mid-layer, and waterproof shell. Don't forget gloves and a hat either, you'll need them at the top.
First Aid Kit – I always recommend bringing a basic first aid kit in your bag as a precaution. We also include a headlamp, and emergency kit too.
Walking Poles – these are really useful for the steep decline as it is either scree in summer, or ice in the winter.
TowWhee - This is a complete optional extra, but we found this so useful to help 'pull' Jess up steep parts of the hill. If you haven't seen these before, a towWhee is actually a device to help 'pull' kids up steep hills on a mountain bike. It was perfect for this hike as as well as helping her up it also acted as a bit of a safety rope on the way back down for the really steep / icy sections.
We found them hard to find locally, but they are available on Amazon here.
Lots of people passing by commented on what a clever idea it was - thinking outside the box like this is exactly the kind of practical tip we love to share in our 20 Hiking Tips with Kids!

More Information
If you have some extra time, why not try some of our other favourite hikes in the area that are also fun to do in the winter:
If you want to stay in a hotel in the area, you can read our reviews of two that we recommend here:
Kananaskis Mountain Lodge in Kananaskis Village (check prices)
MTN House by Basecamp in Canmore (check prices)
If you’re planning a larger road trip through the Canadian Rockies, we have a detailed itinerary guide to help you make the most of your adventure without feeling overwhelmed.
We’ve split this guide into two parts:
Part 1 covers the first half of your journey, including top spots in Calgary, Waterton Lakes, Kananaskis, Banff National Park, and Lake Louise.
Part 2 picks up where Part 1 leaves off, guiding you through the highlights of Kootenay, Yoho, and Jasper National Parks, plus the breathtaking Icefields Parkway.
As always, if you have any questions about the hike feel free to ask away in the comments section!


Comments